


To complete the installation of the PCC for SharePoint Integration you need to configure sharing and permissions for the tempcache folder, and configure the PCC for SharePoint Integration with the location of the Prizm Content Connect Services.
Configure the Tempcache
Configuration of the tempcache permits the PCC for SharePoint Integration code to write and read from the tempcache. In a multi-server topology, Prizm Content Connect is installed on a separate server from the servers hosting SharePoint; this server is called the Prizm Content Connect Server. The tempcache folder is located on the Prizm Content Connect Server.
These configuration steps will share this folder as a network share and then set appropriate permissions for the folder:
- For each web application in your SharePoint farm that will use PCC for SharePoint, you will need to know the application pool identity (user).
a. Open the SharePoint 2010 Management Shell: Start > Microsoft SharePoint 2010 Products > SharePoint 2010 Management Shell.
b. Get the web application:
| PowerShell Code |  Copy Code Copy Code |
|---|---|
# $webApp = Get-SPWebApplication <WebAppUrl> |
|
c. Get the application pool identity:
| PowerShell Code | Copy Code |
|---|---|
# $webApp.ApplicationPool.Username |
|

- Share the tempcache folder as a network share:
a. On the Prizm Content Connect Server find the cache folder created by the Prizm Content Connect installer. By default this will be at: %allusersprofile%/Accusoft/Prizm/Cache/.
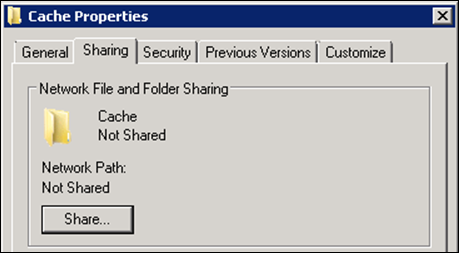
b. In Windows Explorer, right-click on the tempcache folder and select properties.
c. In the properties dialog, select the Sharing tab and then click the "Share…" button:
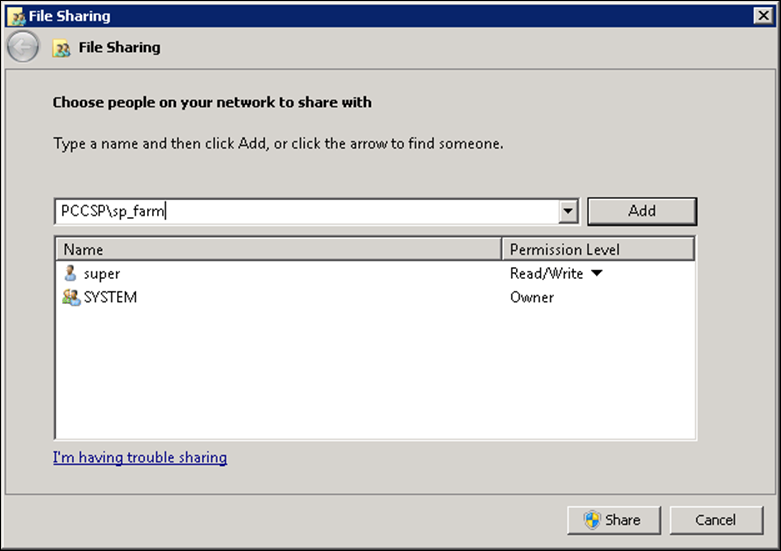
d. In the File Sharing dialog, enter in the username of the application pool identity from Step 1, above, and click Add:
e. Change the permission level of the user to "Read/Write":
f. Repeat Steps 2d and 2e above for each of the application pool identities from Step 1.
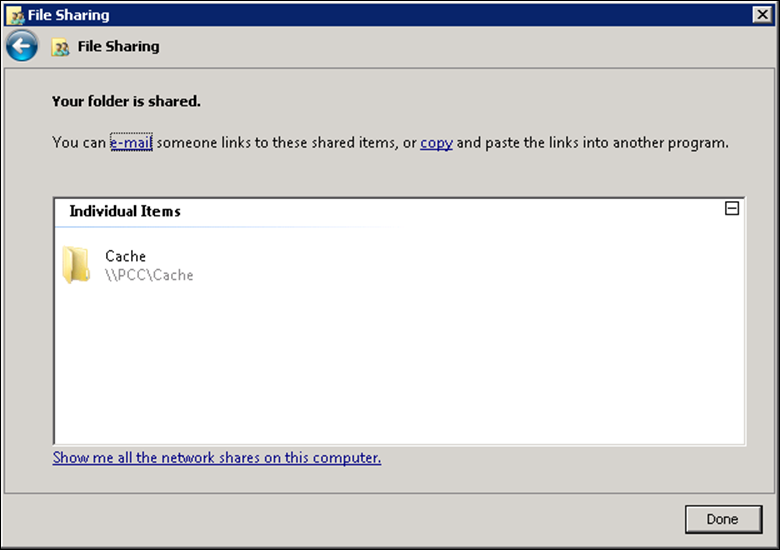
g. Click the Share button to create the shared folder.
h. The File Sharing dialog will give you the status and UNC path of the shared folder. In the screenshot below, this path is "\\PCC\Cache". Make a note of this path for later:
i. Click Done to exit the File Sharing dialog.

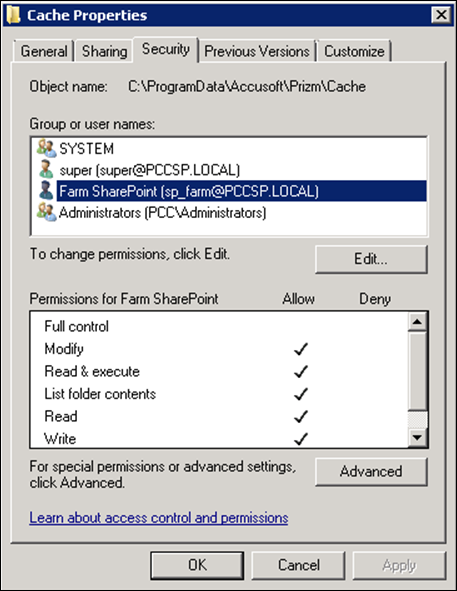
- Modify the security settings for the tempcache folder.
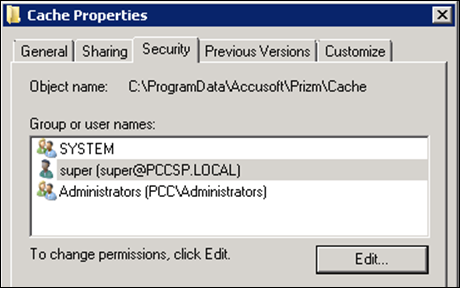
a. In Windows Explorer, right-click on the tempcache folder and select properties.
b. In the properties dialog, select the Security tab:
c. Give each application pool identity permissions to Modify this folder:
Configure the PCC for SharePoint Integration with the Location of Prizm Content Connect
The PCC for SharePoint Integration needs to know the location of the PCC Services and the tempcache network share:
- Open the Prizm Global Configuration admin page in SharePoint Central administration: Central Administration > Application Management > Prizm Global Configuration.
- In the PCC Services section the hostname and tempcache location will be set:
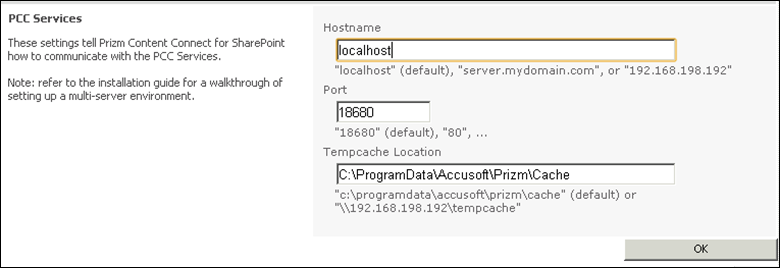
- Set the Hostname field to the hostname of the Prizm Content Connect Server. This should not include a protocol, port, or trailing slash:

- Set the Tempcache Location field to the UNC path of the tempcache network share:

- Click OK to save the settings and exit the dialog.
Next Steps
To continue setting up PCC for SharePoint, you will need to configure the product for viewing the contents of a document library. You can take one of several approaches, depending on the behavior you want to offer the end user.
The following configuration guides and how-to's will help you implement the desired behavior:
- Configuring Digital Rights Management (DRM)
- Configuring the Previewer
- Calling the API Directly
- Redirecting Links to the Document